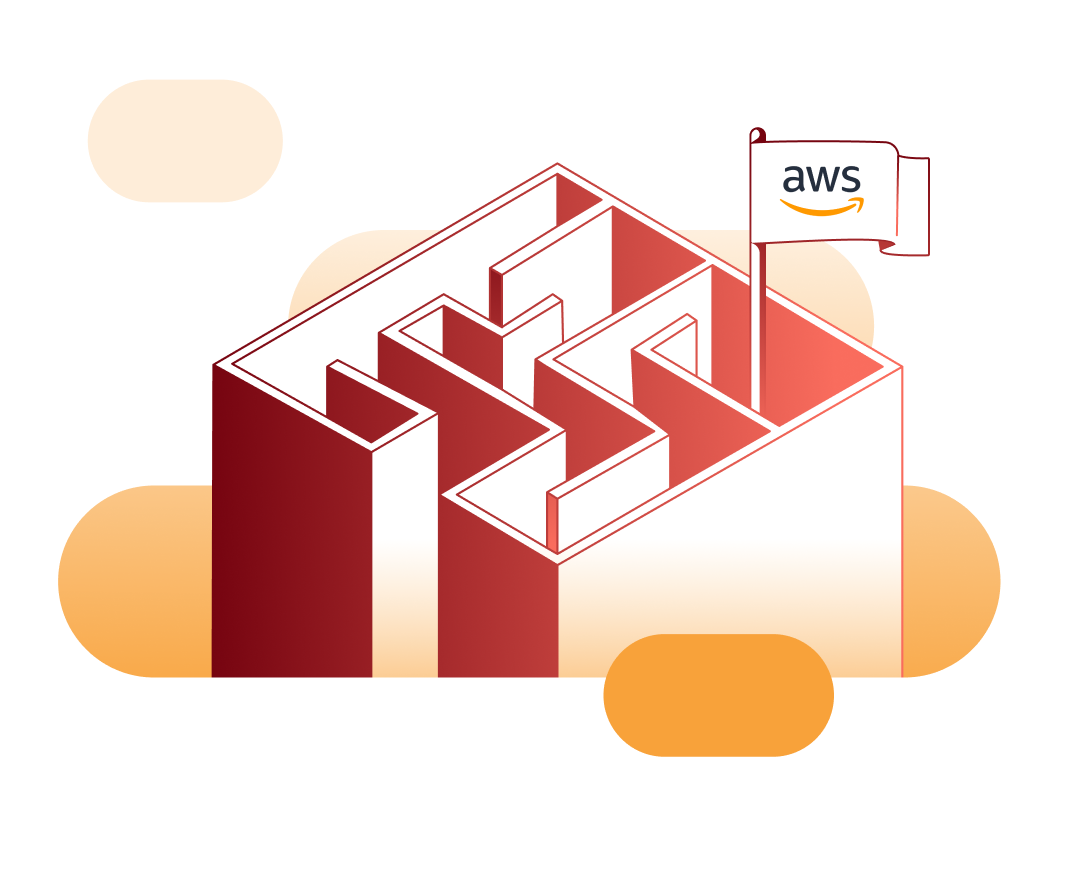
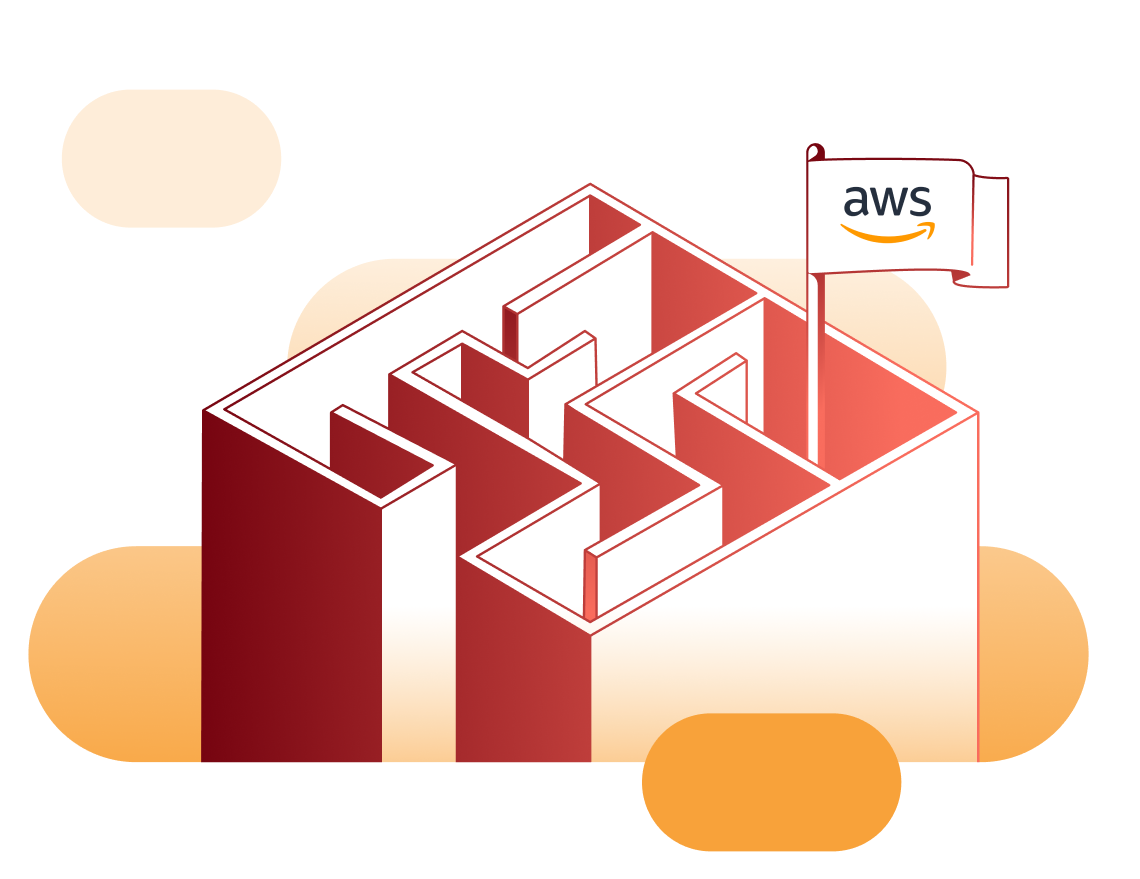
ETL Workflow Guide using Glue Studio with S3 and Athena

Create, Run, and Monitor ETL with AWS


The ‘dark ages,’ when paper forms and filing cabinets ruled, have passed. Today, it’s the ‘golden age’  in which databases are everywhere, and the technology of tomorrow won’t stop there — it will be the era of decision-making based on data analytics. You’ve probably heard how:


To use data for such decision-making, we can’t use traditional OLTP (Online Transaction Processing) systems – we need to pump our data from our databases to the data warehouse. Here, data ETL (Extraction, Transformation, and Loading) comes in handy to manage the process. In this article, we’ll discuss how to perform ETL with AWS, using event-driven, serverless computing platform AWS Glue.


Getting Started with AWS

First, to sign in to the console, we need an AWS account. You’ll have to input details of a valid credit card, debit card, or another payment method, even when you create an account under the free tier. Don’t worry- they won’t charge a penny without letting you know. After creating an account, sign in to the console as a root user.


Step 1: Create a bucket

Amazon S3
Source: aws.amazon.com/s3


In AWS Management Console, we can search for S3 and create a new bucket to store our data. We are building a database in the S3 object storage capable of holding substantial objects up to 5 TB in size.


Create S3 bucket
(Create S3 bucket)

So, here I name my new bucket medium-bkt, selecting the region US East (N. Virginia) us-east-1 and keeping the default options for the rest.


(employee.csv file)

I create a simple CSV file with some dummy data and upload the CSV to the bucket I made earlier.


Step 2: Define the Crawler using AWS Glue


source: aws.amazon.com/glue

In 2017, AWS introduced Glue — a serverless, fully-managed, and cloud-optimized ETL service. To use this ETL tool, search for Glue in your AWS Management Console. There are multiple ways to connect to our data store, but for this tutorial, I’m going to use Crawler, which is the most popular method among ETL engineers. This Crawler will crawl the data from my S3, and based on available data, it will create a table schema.


(Add Crawler)

To add Crawler to my S3:

1.      I give Crawler the name medium-crawler, and click next.

2.      Keeping the Crawler source type on the default settings, I click next again.

3.      I select S3 as the datastore and specify the path of medium-bkt, and click next. (Note: here, if you want to add a connection, you have to complete the S3 VPC endpoint set up)

4.      I select an existing IAM (Identity and Access Management) role radio button. Then, to create an IAM role, I go to the IAM Console, which will direct me to the IAM Management Console.

●       Click create a role.

●       Select Glue under the use cases, and click next.

●       Tick administrator access under the permission policies, and click next.

●       Adding IAM tags is optional, so for this tutorial, let’s continue without adding tags.

●       Give a preferred role name, and click the create-role button.


(Create an IAM role)

5.      Now, let’s come back to the Crawler creation. I select the created IAM role from the dropdown and click next.


(Crawler creation steps)


6.      I set the frequency as run on demand and click next. (If needed, you can schedule your Crawler hourly, daily, weekly, monthly, etc.)

7.     To store the Crawler output, I create a database called employee-database, select the created database from the dropdown, and click next.

8.      Finally, I review all the settings that have been configured, and click finish to create the Crawler.

Now that the Crawler has been created, I click medium-crawler and run it. If the Crawler job status changes from starting-status to stopping-status to ready-status, the Crawler job has been successful.


(Crawler job status changes to the Ready stage)


The Crawler job will automatically create the tables in our database. It will also automatically detect the number of columns on our CSV file and their data types.

If the Crawler job ends up with an endpoint error:

Check that you have an Amazon S3 VPC endpoint set up, which is required with AWS Glue. If you haven’t set up VPC previously, here’s how:

  • Go to the Amazon VPC Console and select endpoints under the virtual private cloud.
  • Click create and endpoint, select com.amazonaws.eu-west-1.acm-pca under the service names and take the default options for the rest.

(Create VPC endpoint)


Step 3: Define the Glue job

Finally, we are done with the environment, and now I define a Glue job to perform the data ETL part in AWS. Then I go back to the AWS Management Console, search for the Glue, and select AWS glue studio and click jobs.


(AWS Glue Studio)

As above, I select Source and target added to the graph and it will direct us to a canvas where we can define source to target mapping. Here remember to give a name (in my case employee job) for the Glue job, otherwise it will return an error.


(Source to target mapping)


To define source to target mapping:

●       I click data source and select the source database and the table


(Select the source database and the table)

●       Then, I click transform and give the transform logic as select fields and select the id and name fields from the transform tab.


(Define the transform logic)

●       Finally, I click data target and specify the target path. (I created a new S3 bucket called target-medium-bkt .)


(Select the target location)

●       I click job details and select the IAM role which we created in Step 2.

●       Now we can save the job and run.


(Job-status succeeded)

Step 4: Query the data with Athena


(Source: aws.amazon.com/athena)


AWS Athena is the query service that AWS offers to analyze data in S3 using standard SQL. In this tutorial, I use Athena to query the ETL data and perform some SQL query operations. In AWS Management Console, we can search for Athena, and there you can see the medium-bkt table which is automatically created while we perform the ETL to employee-database.

(medium_bkt table)

But before running my first query, I need to set up a new bucket in S3 to store the query output. So, I go back to the S3 dashboard and create a new folder called query-output inside my medium-bkt. I then come back to Athena and specify the path of the query result location as shown below.


(Select the query result location)

Finally, now I can either query my source and target table and see the results, or analyze the data using SQL queries.


(Query the data)

Summary

Performing an ETL is a significant aspect of a typical data engineer’s work. There are many cloud-based ETL tools out there, such as AWS Glue, Azure Data Factory, Google Cloud Air Fusion, etc. Regardless of which you choose, all of them will help reduce the development effort by providing a base from which to start, and providing the accessible manageable serverless infrastructure.

In this tutorial, we have discussed how to perform Extract Transformation Load using AWS Glue. I hope this will help with your projects – if you find any points worth mentioning that have been missed, please put them in the comments below.

Finally, I should point out that these services are not free, but the best thing about using AWS is you can pay as you go.